[Linux] Let’s Encrypt 와일드카드 인증서 설치(Certbot, Feat. Cloudflare)

그동안 let’s Encrypt 일반 인증서를 Certbot 설치 후 사용하다가 Let’s Encrypt 와일드카드 인증서를 설치해서 사용해야 겠다는 생각을 하게 되었습니다.
현재 서버는 LightSail Alma Linux apache로 구동되는 서버인데 차후 상황을 봐서 Open Lightspeed 서버로 변경을 고려중이지만 한참 뒤가 될 것 같습니다. 현재는 apache 기준으로 Let’s Encrypt 와일드카드 인증서를 설치합니다.
와일드카드 SSL 설치 조건 중 하나가 Certbot의 DNS 플러그인 중 하나를 사용히는 조건이 있습니다. 그동안 와일드카드 인증서를 사용하지 못하고 일반 인증서를 사용한 이유도 여기 있으며, 여러 DNS 공급자 중에 하나를 사용해야 한다는 조건 떄문에 고민하다 포기했었습니다. 이번에 DNS Route53과 Cloudflare 중에 DNS를 특이 사항이 없다면 영구적으로 사용하는 전제를 걸고 고민하다 Cloudflare DNS를 사용하기로 결정했습니다.
- certbot-dns-cloudflare
- certbot-dns-digitalocean
- certbot-dns-dnsimple
- certbot-dns-dnsmadeeasy
- certbot-dns-gehirn
- certbot-dns-google
- certbot-dns-linode
- certbot-dns-luadns
- certbot-dns-nsone
- certbot-dns-ovh
- certbot-dns-rfc2136
- certbot-dns-route53
- dns-bunny
- certbot-dns-sakuracloud
✅ snap 및 certbot 설치
snap과 certbot 설치 과정은 일반 Let’s Encrypt SSL 설치 방법과 과정이 동일합니다. 링크를 참조해서 기본 설치를 진행하면 될 것 같습니다.
✅ Let’s Encrypt 와일드카드 인증서 설치 진행
Certbot에서 Cloudflare API를 이용해 SSL 인증서를 자동 갱신하려면 Cloudflare 네임서버를 사용해야 하며, API 인증 정보가 필요합니다. 대상 도메인의 네임서버를 이미 Cloudflare로 설정한 상태입니다. API 인증을 위한 Cloudflare에서 공급하는 DNS 플러그인 설치를 진행하겠습니다.
🔲 Python 모듈
Cloudflare 토큰을 사용하려면 Python 모듈의 최소 버전 2.3.1이 필요합니다
참조 : certbot-dns-cloudflare 문서cloudflare. 이 플러그인과 함께 자동으로 설치된 버전이 그보다 오래되었고 시스템에서 업그레이드할 수 없는 경우 Global 키를 고수해야 합니다.
Cloudflare 플러그인을 사용하기 위한 전제 조건이 파이썬이 서버에 설치되어야 사용 가능함을 확인했습니다.
~]# python3 --version
Python 3.9.18
파이썬이 이미 호환 가능한 버전으로 설치되어 있어 다음 단계로 넘어갑니다.
🔲 플러그인 설치
~]# snap install certbot-dns-cloudflare
error: cannot perform the following tasks:
- Run hook prepare-plug-plugin of snap "certbot" (run hook "prepare-plug-plugin":
-----
Only connect this interface if you trust the plugin author to have root on the system.
Run `snap set certbot trust-plugin-with-root=ok` to acknowledge this and then run this command again to perform the connection.
If that doesn't work, you may need to remove all certbot-dns-* plugins from the system, then try installing the certbot snap again.

# 플러그인이 루트 권한을 필요로 하기 때문에, 설치 전에 신뢰를 확인해야 한다는 내용을 확인 했습니다.
# 신뢰(trust)를 확인하는 명령어 실행 후 다시 진행합니다.

~]# snap set certbot trust-plugin-with-root=ok
~]# snap install certbot-dns-cloudflare
certbot-dns-cloudflare 3.3.0 from Certbot Project (certbot-eff✓) installed
🔲 API 자격 증명 설정
certbot-dns-cloudflare 문서의 내용을 정리하면서 진행해 보겠습니다.
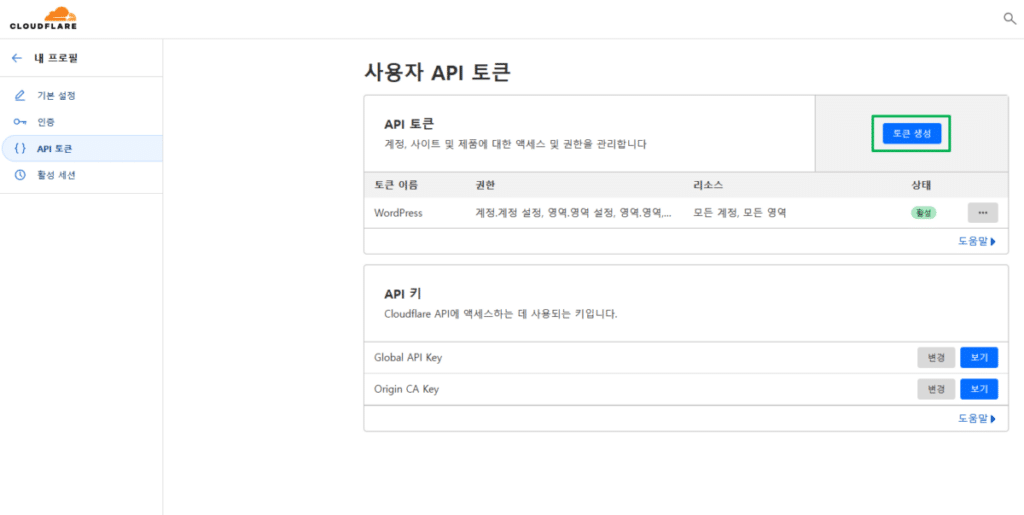
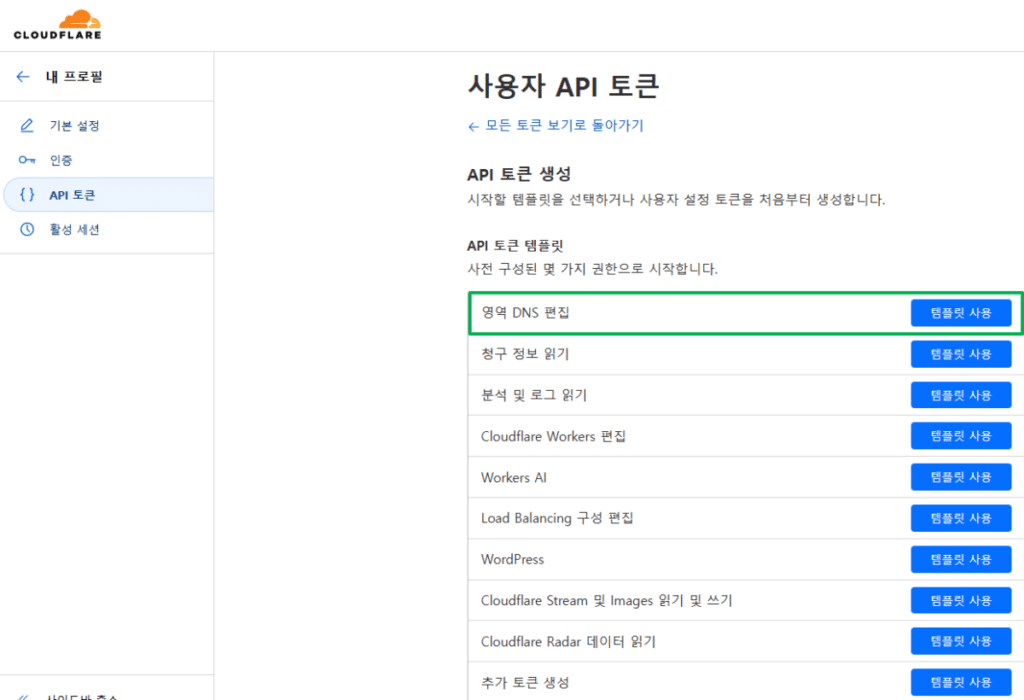
[토큰 생성] 버튼을 클릭해서 사용자 API 톸ㄴ에서 [영역 DNS 편집]으로 이동합니다.
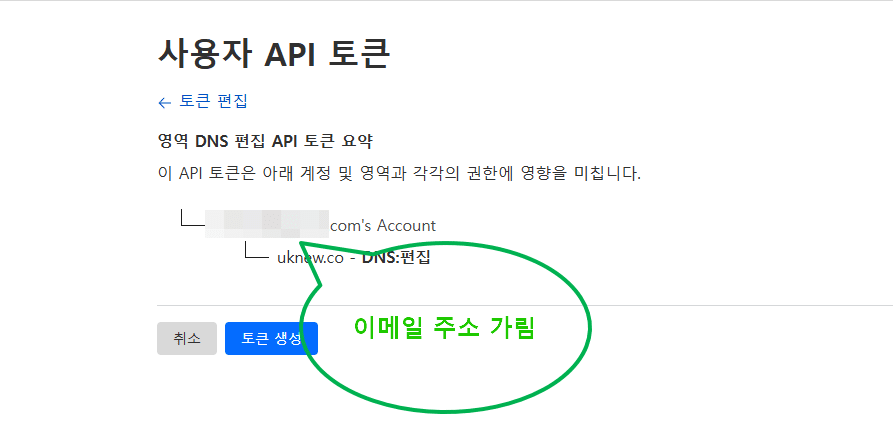
▼ 토큰 설정할 도메인을 선택합니다.

▼ 토큰 생성 전 메시지입니다.
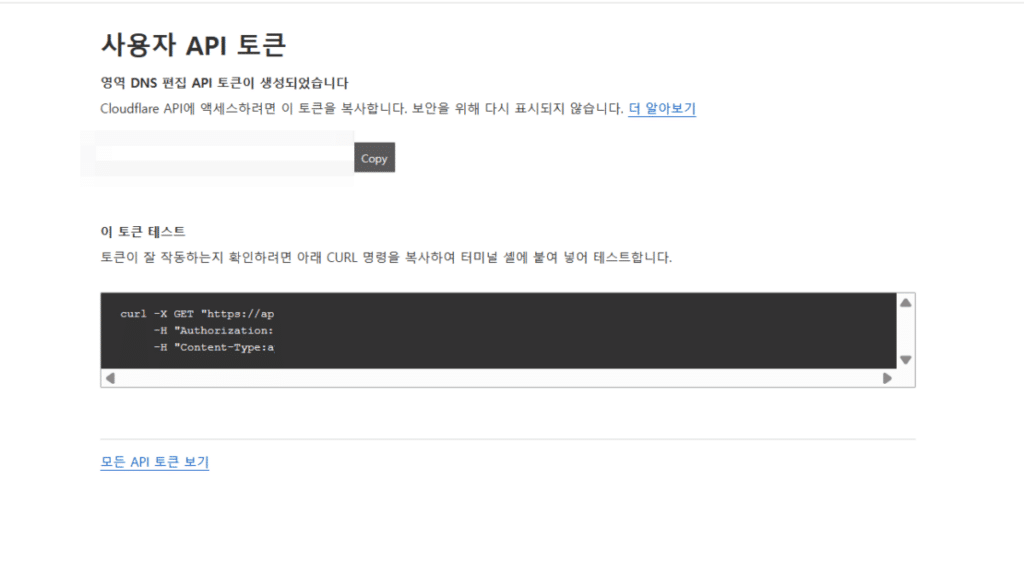
▼ 토큰 생성이 완료 되었습니다.
###v 퍄일 예시 ##
# 도메인 1의 Cloudflare API token
dns_cloudflare_api_token_domain1 = 0123456789abcdef0123456789abcdef01234567

# 도메인 2의 Cloudflare API token
dns_cloudflare_api_token_domain2 = 89abcdef0123456789abcdef0123456789abcdef01

~]# cd ~/
~]# mkdir .secrets/certbot
~]# vi .secrets/certbot/cloudflare.ini
dns_cloudflare_api_token_domain1 = 0123456789abcdef0123456789abcdef01234567

#여러 도메인을 한 서버에서 사용할 때 #
dns_cloudflare_email = myemail@구글.com
dns_cloudflare_api_key = 0123456789abcdef0123456789abcdef01234567

# 자격증명 입력 후 저장하고 나가기 > 파일 권한 설정 #
chmod 600 .secrets/certbot/cloudflare.inicertbot certonly \
--dns-cloudflare \
--dns-cloudflare-credentials ~/.secrets/certbot/cloudflare.ini \
-d example.com \
-d "*.example.com"
# 두 개의 다른 도메인 한꺼번에 받기 #
certbot certonly \
--dns-cloudflare \
--dns-cloudflare-credentials ~/.secrets/certbot/cloudflare.ini \
-d domain1.com \
-d "*.domain.com" \
-d domain2.com \
-d "*.domain2.com"
# 자동 갱신 테스트 #
certbot renew --dry-run
# ssl.conf 설정하기 #
<VirtualHost *:443>
ServerName mydomain.com
ServerAlias *.mydomain.com www.mydomain.com
DocumentRoot /home/myhost/www
SuexecUserGroup myhost nobody
<Directory /home/myhost/www>
Options -Indexes +FollowSymLinks
AllowOverride All
Require all granted
</Directory>
SSLEngine on
SSLCertificateFile /etc/letsencrypt/live/mydomain.com/cert.pem
SSLCertificateKeyFile /etc/letsencrypt/live/mydomain.com/privkey.pem
SSLCertificateChainFile /etc/letsencrypt/live/mydomain.com/chain.pem
SSLCACertificateFile /etc/letsencrypt/live/mydomain.com/fullchain.pem
</VirtualHost>
## 아파치 재시작 #
systemctl restart httpd