Cloudways migration means moving a WordPress site from your current host to a Cloudways server, and with the Cloudways WordPress Migrator plugin it is free no matter how many sites you move. When I used this plugin to move a test site straight into a new application, the migration finished in about 5 minutes.
For WordPress and WooCommerce sites, you can also request one expert migration (managed migration) for free. Install the plugin on the old site, enter the server IP and SFTP details of the new application, and the files and database are moved together.
TOC
4-minute read
TOC
4-minute read
View more
1️⃣ Cloudways migration options
Cloudways migration comes in two forms: self-migration, where you move the site yourself with a plugin, and managed migration, where Cloudways engineers move it for you. The Cloudways WordPress Migrator plugin used for self-migration can only move WordPress and WooCommerce sites.
Non-WordPress applications such as Magento or Laravel cannot be moved with the plugin, so you request a managed migration, which costs $99 per application.
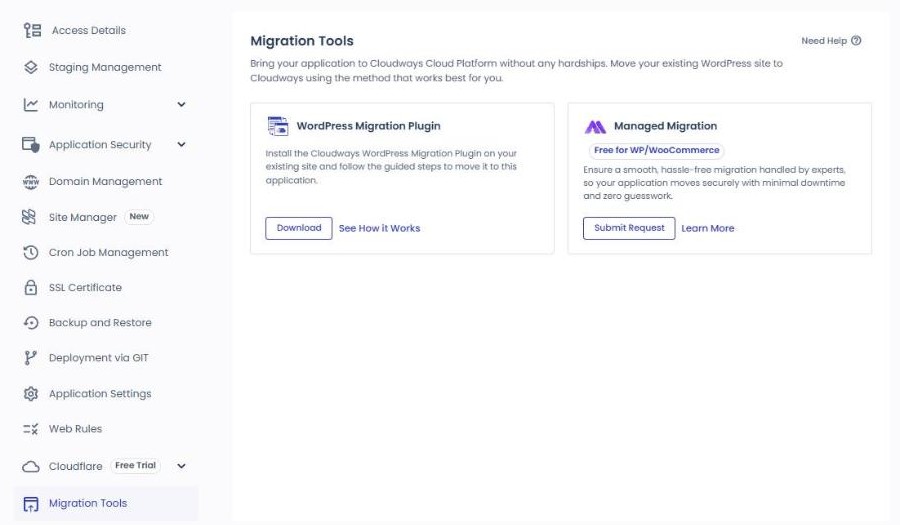
The application's [Migration Tools] screen also shows both options side by side: the WordPress Migration Plugin you run yourself and the Managed Migration that Cloudways does for you.
2️⃣ Migrating with the WordPress Migrator plugin
A self-migration goes like this: create a new application on Cloudways, install Cloudways WordPress Migrator on the old site, then enter the migration details. In the simulator below you can click through the six steps exactly as they appeared when I moved a test site on October 13, 2026.
migrate.blogvault.netClicking [MIGRATE] opens the BlogVault site, not the Cloudways or WordPress admin screen.
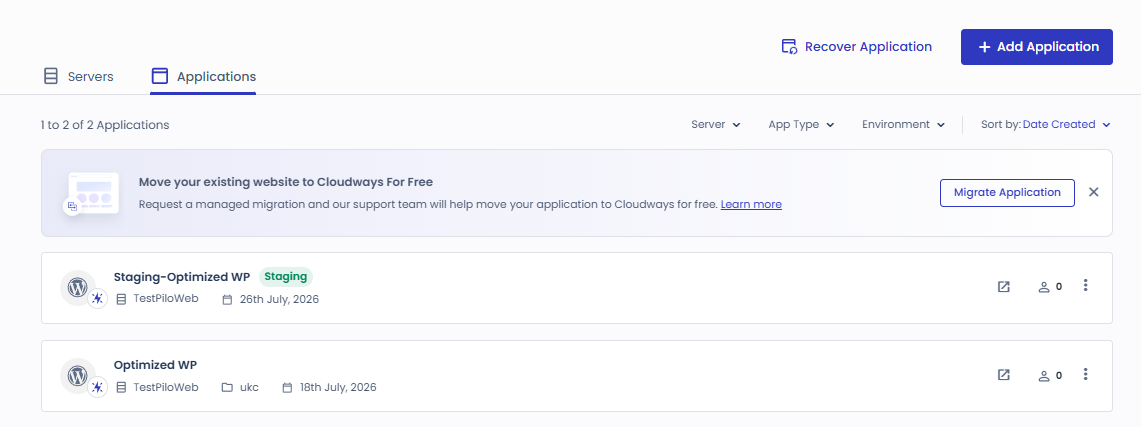
📍Flexible›Applications›+ Add Application
Create a Cloudways app
Open the [Applications] tab under [Flexible] on the left and use [+ Add Application] at the top right to create the WordPress application that will receive the site. The screen shows Lightning Stack as recommended, but if the old site uses .htaccess rules, pick [Hybrid Stack].
📍Applications›migration-test›Access Details
Access info — Access Details
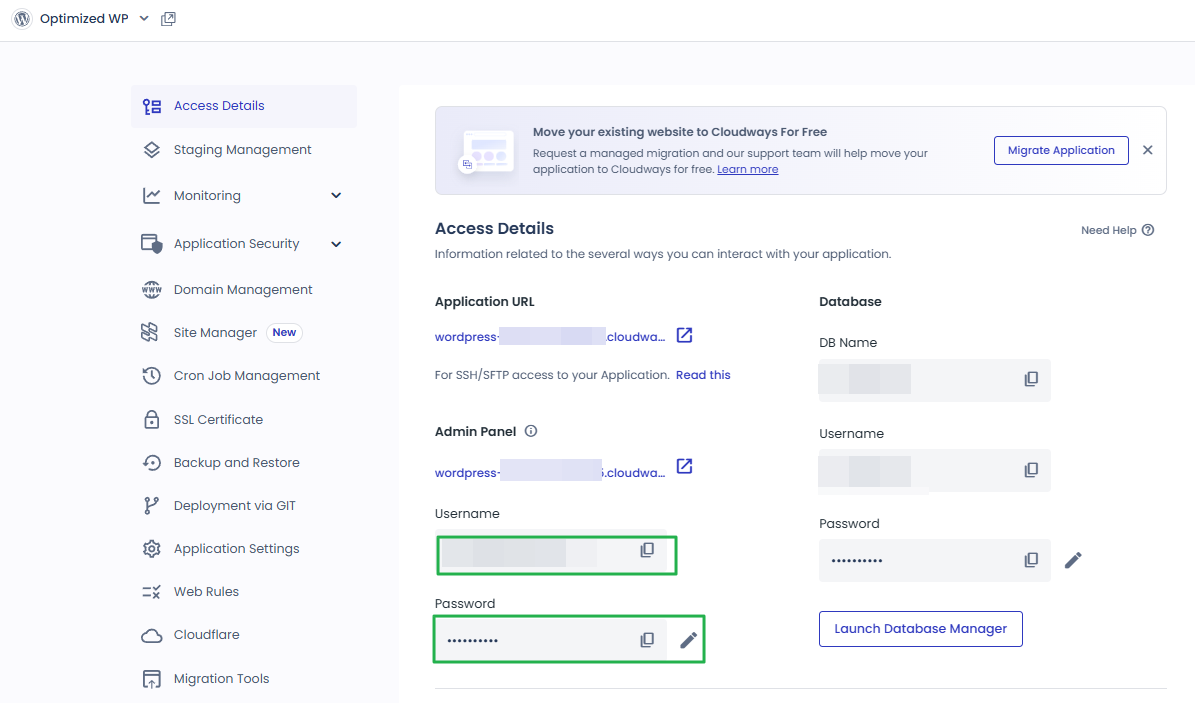
When you open the new application, the first menu is [Access Details], where you find the application URL and DB name to enter in the migration wizard.
📍Servers›my-server›Master Credentials
Access info — Master Credentials
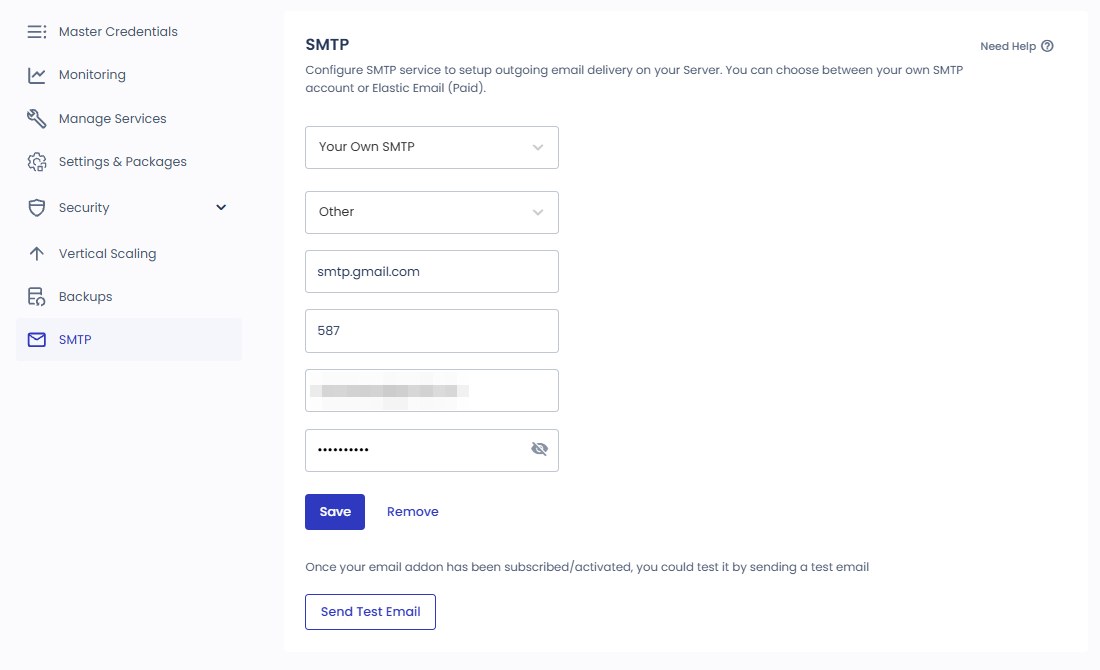
The server IP, username and password for the SFTP connection are in the server menu under [Master Credentials]. Open it from the [Servers] tab on the left.
📍Old site wp-admin›Plugins›Add New Plugin
Install the Migrator plugin
In the old site's admin, go to [Plugins] › [Add New Plugin], search for Cloudways WordPress Migrator, then install and activate it.
📍Old site wp-admin›Cloudways Migrate
Run the Migrator plugin
Once activated, [Cloudways Migrate] appears in the admin menu; [MIGRATE] only becomes clickable after you enter an email and accept the terms.
📍migrate.blogvault.net›Migrate your site
Enter migration details
The details screen opens on the BlogVault site (migrate.blogvault.net). Enter the values you checked in step 2 and click [Migrate].
📍migrate.blogvault.net›In progress
Migration in progress
After [Validating Details…] the progress bars fill in the order files, tables, overall; even if you close the window the migration continues and you get a completion email.
📍migrate.blogvault.net›Complete
Migration complete
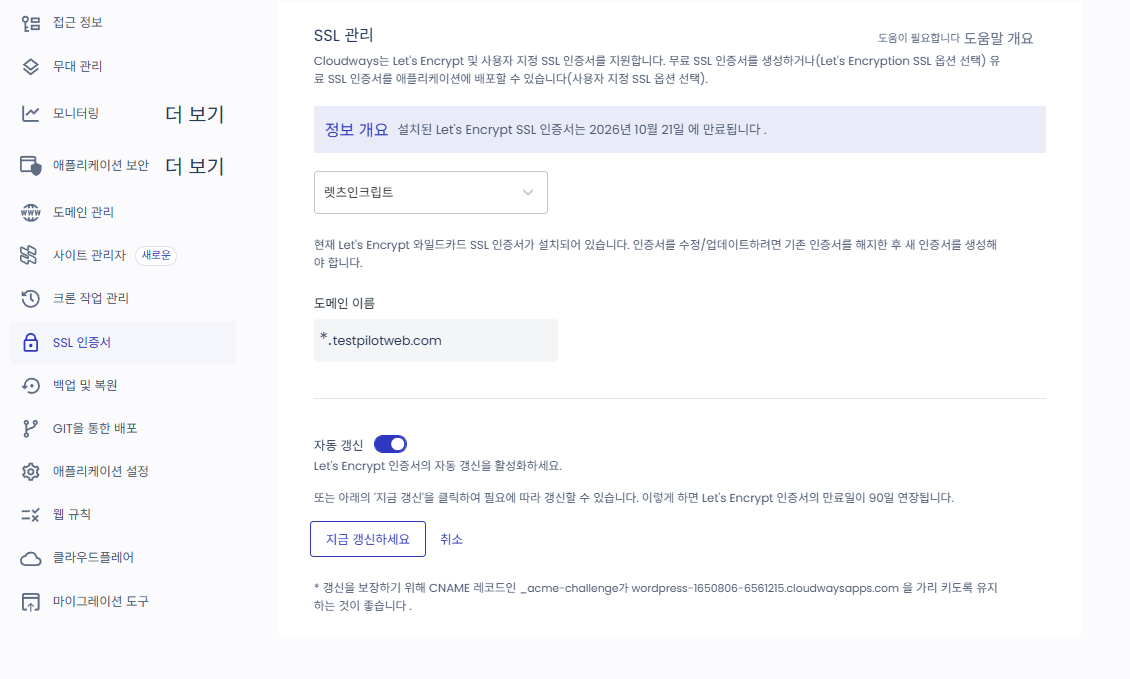
The completion screen lists the next tasks in order — connect the domain, set up SSL, check the settings — and [GO TO CLOUDWAYS] takes you back to Cloudways.
Move your existing website to Cloudways For FreeRequest a managed migration and our support team will help move your application to Cloudways for free.Migrate Application
Access Details
Information related to the several ways you can interact with your application.
Sit back and relax while BlogVault robots move your site. You can monitor the progress, or close the window and wait for the completion email to arrive in your inbox.
Navigate through your Cloudways-hosted site for quality assurance. If anything is a miss, drop us a line via a Support Ticket.
Click a highlighted item in the left menu or a button on the screen
The migration details screen opens on the BlogVault site (migrate.blogvault.net), not in the WordPress admin. [Destination Site URL] and [Database Name] come from the new application's [Access Details]; [SFTP Host/Server Address] and the SFTP username and password come from the server's [Master Credentials].
[Is this site password-protected?] is not asking for your WordPress admin password. Choose [Yes] only if the old site is behind HTTP authentication, a plugin that blocks access, or maintenance mode; if the migration gets stuck, turn that protection off for a moment and run it again.
For the test site with 238MB of files and 22 tables, the migration finished about 5 minutes after clicking [Migrate], and the overall progress sat at 95% for more than a minute. If the old site handles redirects with [.htaccess] rules, pick [Hybrid Stack] when creating the new application; the Lightning stack runs only Nginx and does not read [.htaccess].
3️⃣ Requesting a managed migration
For applications the plugin cannot move, or if you would rather not do the migration yourself, request a managed migration; for WordPress and WooCommerce sites, managed migration is free too.
In the application's [Migration Tools], clicking [Submit Request] under Managed Migration opens the [Application Migration Request] form, which has four steps: [Select Application], [Site Details], [Connection Details] and [Additional Details].
In the first step, [Select Product] shows [Free 0/1] next to Cloudways Flexible; unlike the [Flexible: 5 Free] in the add-on list, the free request was one.
According to the form, you need hosting access such as SSH, SFTP, FTP or cPanel to submit a request, and any data already in the new application is overwritten. After you submit, a support engineer contacts you to schedule the migration.
4️⃣ Checking the temporary URL and changing DNS
Once the migration is done, check the new site on the Cloudways temporary URL before connecting the domain. Click [GO TO CLOUDWAYS] on the completion screen or open the application URL directly; a new WordPress admin account is created during the migration and shown in [Access Details].
If the moved content does not show up, clear the Varnish cache in the Cloudways dashboard and open it again.
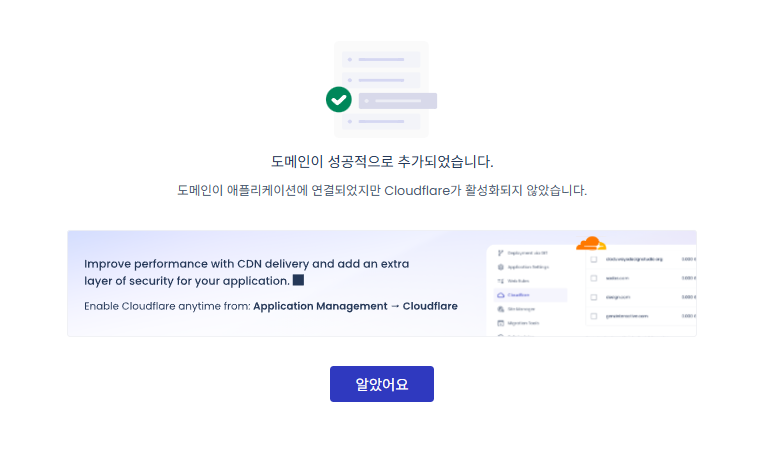
When everything checks out, add the domain under the application's [Domain Management] and point the domain's DNS A record to the server IP. If some visitors still see the old site right after the change, that is the DNS change spreading; for the connection steps, see How to add a domain on Cloudways for the full process.
🔢 FAQ & Recommended Content
The Cloudways WordPress Migrator plugin has no limit on the number of sites you move and costs nothing. Both Cloudways Flexible and Autonomous are available; you pick one under [Platform] in the wizard.
Multisites can only be moved on Cloudways Flexible. Before migrating, turn on multisite in the new application's settings using the same type as the old site (subdomains or subfolders); once enabled, it cannot be undone. In the wizard, set [Migrate Additional Database Tables] to [Yes] and select all tables.
If you choose [Yes] under [Any Root Directories You Want to Migrate?], non-WordPress folders inside [public_html] are moved as well. Choose [No] and only WordPress is moved.
☁️Recommended Cloudways contentPost 16 · Tool 2
🗂️ Running Cloudways
📄 Signup and basic setup📄 Domain connection📄 SSL setup
📋 Servers & Applications📄 Admin login📄 Staging Management📄 Billing · Pricing📄 Email · SMTP add-on📄 MCP · AI Server Management📄 SFTP and SSH Connections📄 Migration📄 Backup📄 Vertical Scaling
📋 Hosting Comparison Top 7📄 What is cloud hosting📄 What is managed hosting
ℹ️ Affiliate Disclosure This site's content contains affiliate links. When a visitor buys a product or service through one of them, the site receives a commission from the seller. The amount the buyer pays(it goes down during event discounts ↓)does not go up. Posted prices, discounts, and stock reflect the time of writing and may differ, so confirm with the seller before buying. Products are chosen and reviewed by our own standards, and commissions do not affect the order or content of reviews.